
IMPORTANT: The pack uses the EnhancedInput system, if you do not use this you must also replace the respective locations and also remove locations.
Input Events #
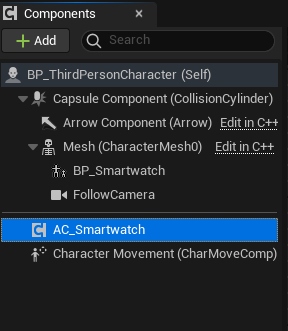
In AC_Smartwatch
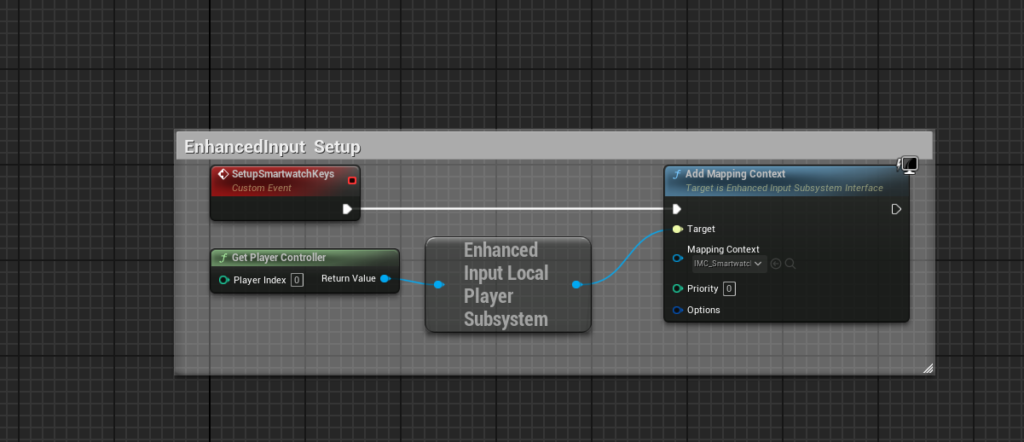
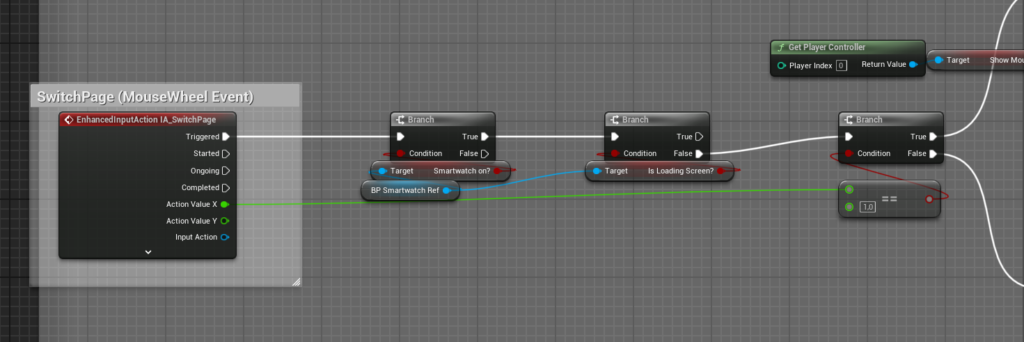
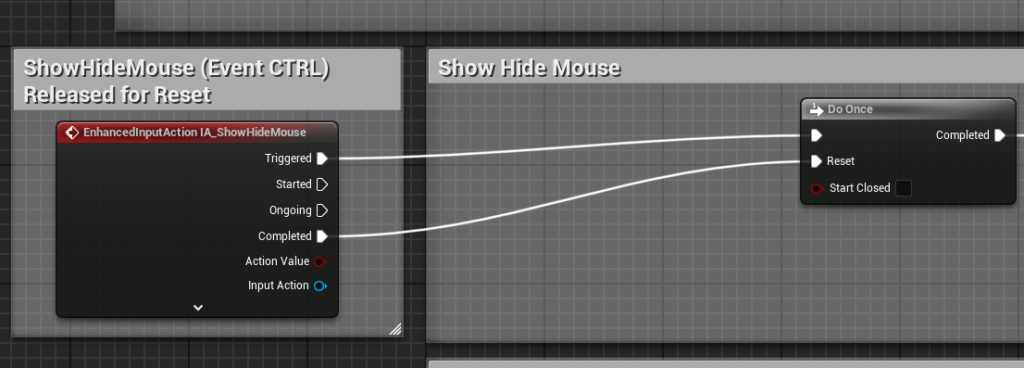

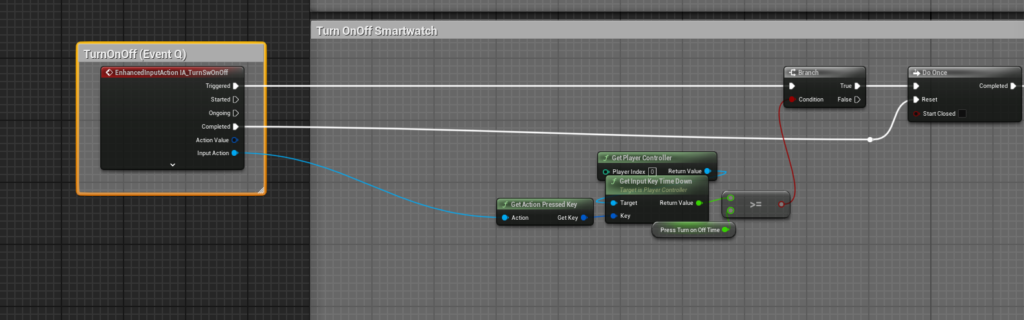
The screens show the keyboard events that need to be replaced/removed if you are not using EnhancedInput. The screens also serve to illustrate how these events are connected.
Character #
Go into your character and add the AC Smartwatch component to it.
As well as the following interaction event. You can also adapt it to your system accordingly – what you need is marked in red!
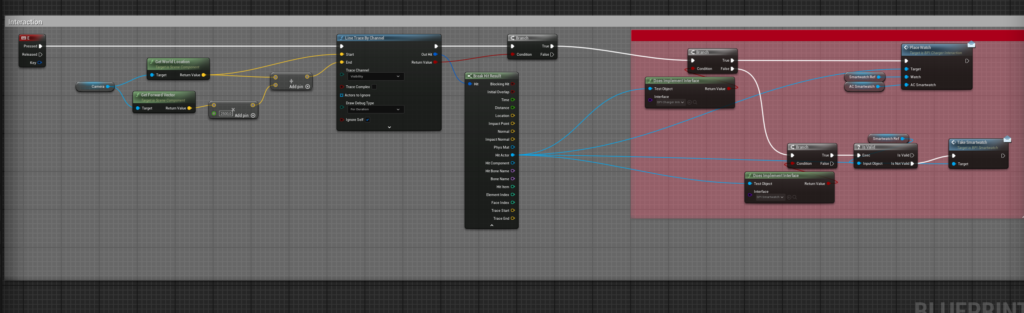
Create another BP_Smartwatch variable as a reference.

Create a socket on the left hand in your Skeleton character with the name “Smartwatch_Socket”.

Adjust the socket so that it sits correctly on the wrist.
Next, go to the AC_Smartwatch Blueprint and change the following cast to your character.
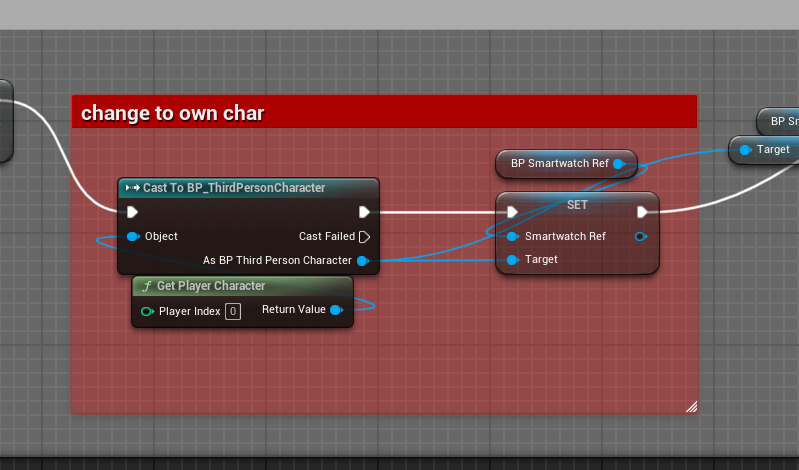
Correct any errors you receive and adapt them to your system.
Animation #
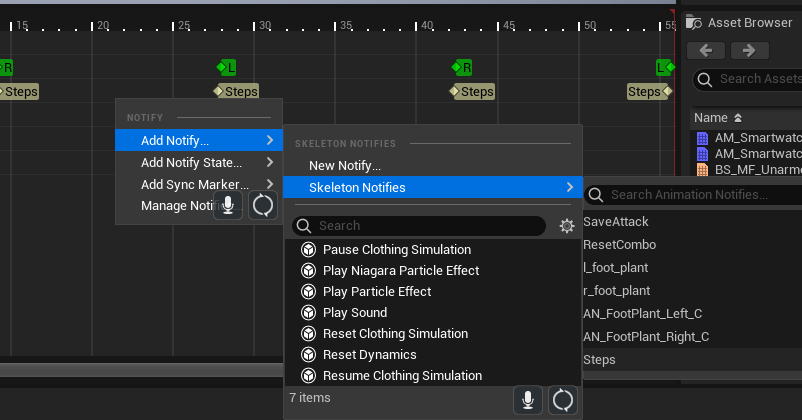
To see the steps on the watch later, you should add Notify in the running animations; if you already have a Notify for running, you can skip this step.
1. open your running animation and add a new Notify.

2. now do the following for the next step where the foot touches the ground (Add Notify->Skeleton Notifies->Steps) and do this for every step and in every walking animation.
3. once all animations have this notify, go to your character’s ABP (Animation Blueprint) and create the following. Please note that the character variable itself is already BP_ThirdPersonCharacter, which is why I was able to extract AC Smartwatch here. If this is not the case for you, you will of course have to insert another cast in between.

Animation assembly #
You can either use the animation montage from the pack or create it yourself.
For the animations to work smoothly, you still need to adjust everything in the AnimGraph of your ABP. The best way to do this is to take a look at ABP_Manny in the demo folder under “Demo>Characters>Mannequins>Animations”.
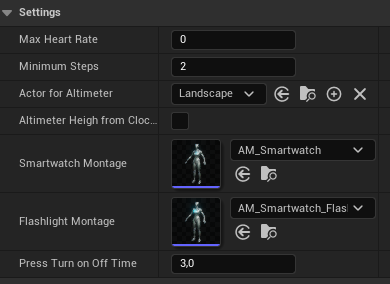
AC_Smartwatch Settings #
If you click on AC_Smartwatch in your character, you will see the settings on the right in Details, which you can edit or adjust. Anything below “No Edit” does not change anything.
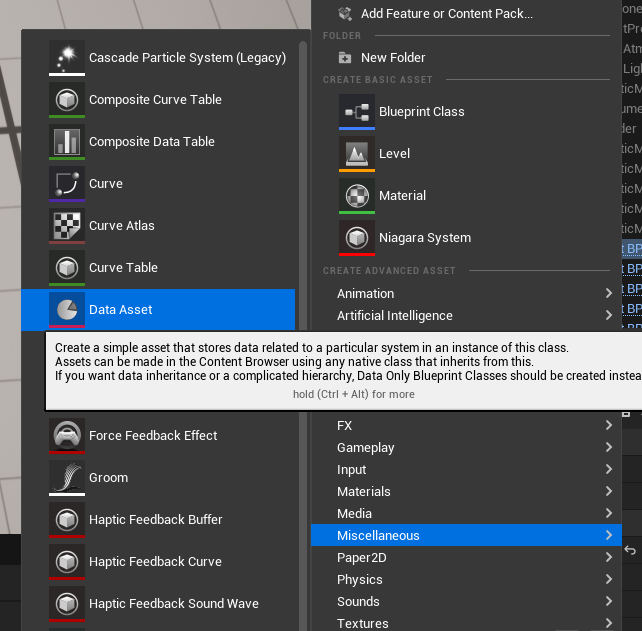
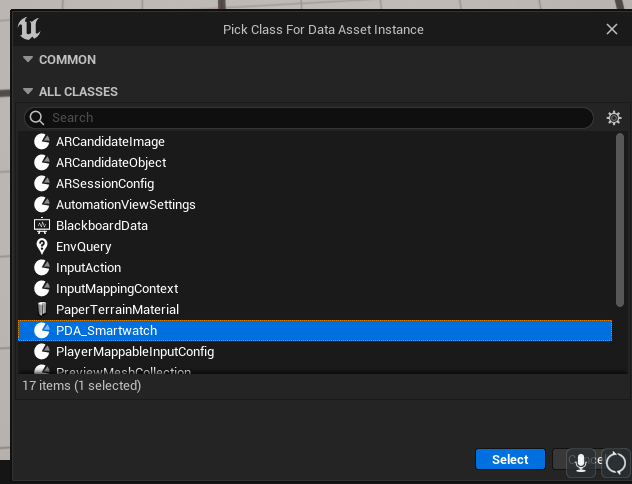
Add clock #
New clocks can be added as DataAssets.
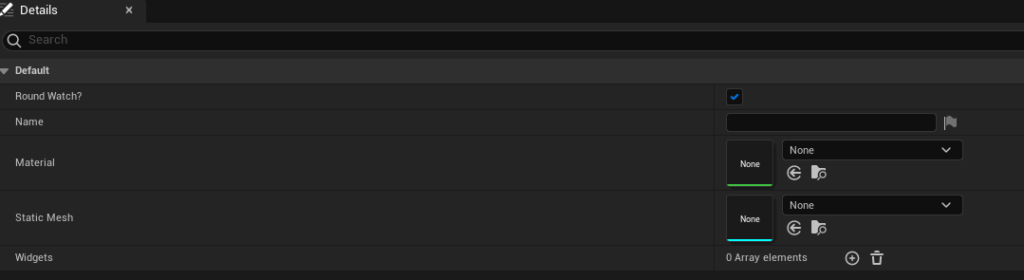
Add widgets to the clock #
Adding widgets is very simple. You create a widget and adapt it to the round or square clock.
Then add the widgets you have created to the DataAsset under Widgets of the clock.
The pack is designed so that you can create your own widget for each clock.

INFO: The widget that is to be used as the main screen must also be the first one in the array!
To change the clock in the game, simply change the WatchInfo with the desired DataAsset.

North and zero point #
To define the north in your game, add the BP_Northpoint somewhere outside on your map.
The zero point (BP_ZeroPoint_Altimeter) should ideally be set at the same height as the landscape.
If there are any problems, no matter if it’s a problem with posting or just a bug in the pack, please write me an e-mail or simply open a ticket via Discord.