Menu Map #
To use the menu in your own game, you first have to import the folder “Menu” from the menu system into your game. To do this, simply use the migrate function of Unreal Engine.
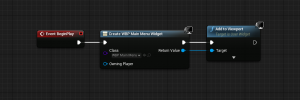
Once you have done that, you have to select the Map_Menu as Game Default Map in Edit->Project Settings->Maps&Modes or you can add the menu to your own map by adding “Event BeginPlay->Create Widget->add to viewport” in the Level Blueprint.
In game menu again Close #
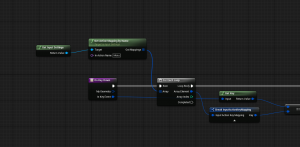
If you have already created a menu event you have to change the action name in WBP_InGameMenu under OnKeyDown.
Functions #
Buttons #
There are two buttons, one is the MainButton and the other is the SecondButton. Both buttons can be easily inserted into a widget and used, you just have to insert a text and you can add a sound and choose if the text should be upper or lower case.

Question Widget #
Add the widget and use the SetQuestion function from this widget to set what the question is and whether it should have a timer or not. Next, set the StartTimer of the Question widget behind it.
To stop the timer, use the StopTimer function.


FPS Counter #
The FPS widget only needs to be inserted. Once you insert the WBP_Friendlist widget into another, you can simply use the ShowFriends custom event here.
Steam friends list #
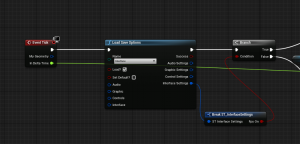
Once you insert the WBP_Friendlist widget into another, you can simply use the ShowFriends custom event here.
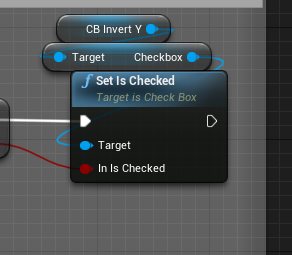
Checkbox #

Key Selection #

To change the Axis Keys you have to check “Axis Keys?” under Settings and set the Axis Scale value to -1 or 1 under Scale.

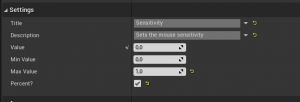
Slider #


Switch #

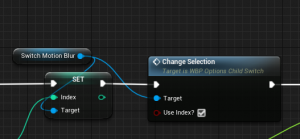
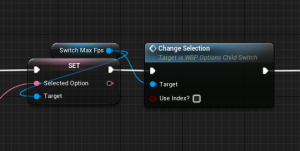
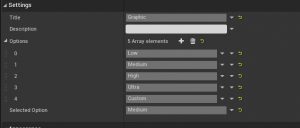
To change the value in the switch either the index or the option must be inserted again and confirmed via Change Selection.
Credits / Maps / Socials / Updates #
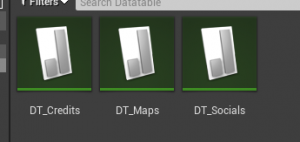
Via a data table you can easily add your social media channels, the same applies to maps, credits and also the updates (these must be entered into the data table yourself and are not automatically taken from Steam).
Examples #
Use invert and sensitivity options #
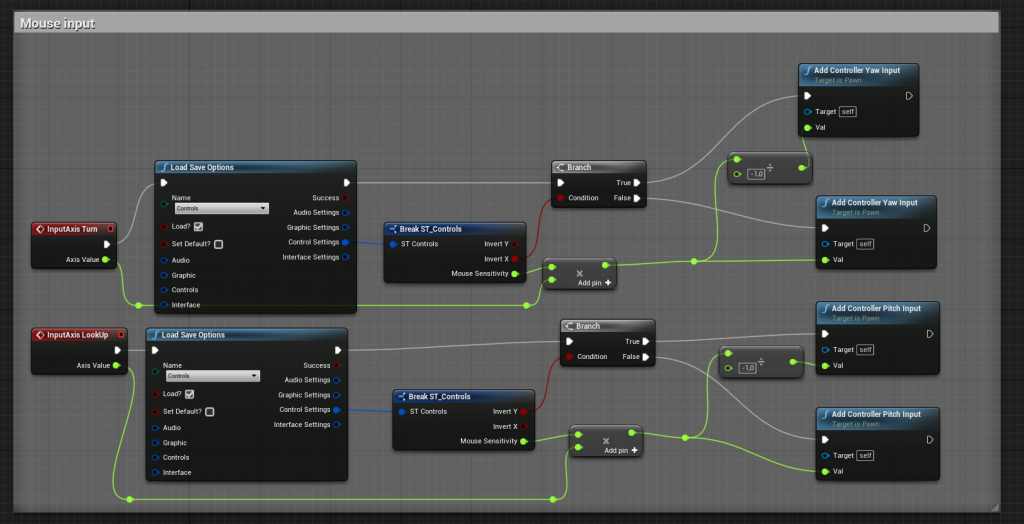
So you could use the mouse speed and invert, but it is best to use a variable, because this way the save file is constantly queried.
One possibility would be to update the whole thing in the GameInstance after each save of the options and then query the variable in the GameInstance.
